In this article, you will discover the joy and creativity of DIY projects, specifically how to create your own miniature painting. Whether you’re an experienced artist or a novice, this step-by-step guide will walk you through the process of bringing a tiny canvas to life with colors and imagination. Get ready to unleash your inner artist and immerse yourself in the world of miniatures as you embark on this delightful journey of creativity and self-expression. So grab your paintbrushes and let’s get started on this exciting DIY adventure!
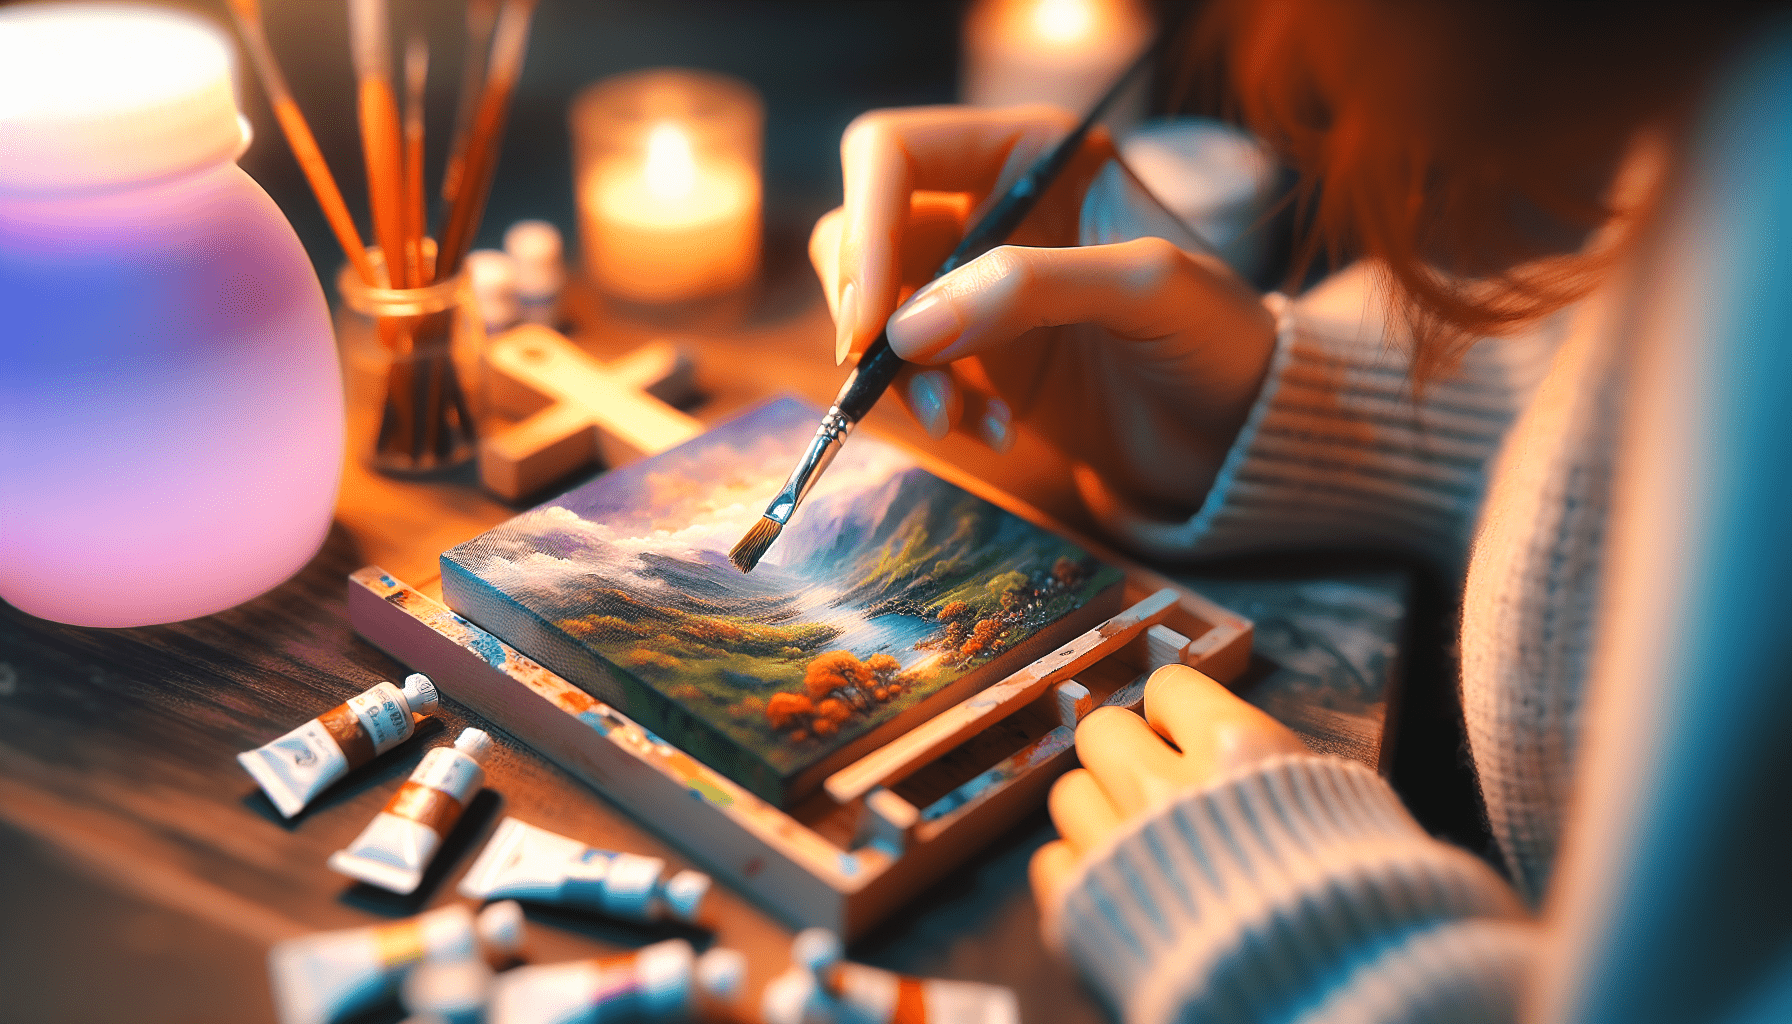
Materials Needed
To embark on your miniature painting journey, you’ll need a few essential materials. These include:
Canvas or paper
Choose a canvas or paper suitable for your painting medium. Canvas is more commonly used for acrylic and oil paints, while paper is ideal for watercolor paintings.
Paints
Invest in high-quality paints in your desired medium, such as acrylic, watercolor, or oil. Ensure you have a variety of colors to achieve the desired effects.
Paintbrushes
Different paintbrushes serve different purposes. Make sure you have a range of brushes, including flat brushes for broad strokes, round brushes for details, and fan brushes for blending.
Palette
A palette is essential for mixing and holding your paint. Opt for a palette with multiple wells to keep your colors separate and avoid them blending unintentionally.
Easel
While not strictly necessary for a miniature painting, an easel can provide stability and help maintain a comfortable working posture.
Pencil and eraser
Sketching out your composition beforehand allows you to plan your painting. A pencil and eraser will help you make light outlines and make any necessary adjustments.
Water cup and paper towels
These are needed for cleaning your brushes and managing water-based paints. Keep a cup of water nearby for rinsing brushes, and have paper towels handy for drying them off.
Choosing a Subject
Before you dive into painting, it’s essential to choose a subject that inspires you. Consider the following steps when selecting the perfect subject for your miniature masterpiece:
Decide on a theme
Are you drawn to nature, portraits, or still life? Understanding your preferred theme will help you focus your search for reference images or choose items to set up a still life.
Select a reference image or create a sketch
Look for reference images online or in books that align with your chosen theme. Alternatively, you can create a sketch from your imagination or by observing real-life objects.
Consider the size of your painting
Since you’re working on a miniature scale, you should consider the dimensions of your canvas or paper. Will the subject fit appropriately, or do you need to adjust the size or zoom in on specific details?

Preparing the Canvas
Before you start painting, it’s essential to prepare your canvas. These steps ensure a smooth surface and help your paint adhere properly:
Choose the size and format
Select a canvas that suits your chosen subject and fits within your desired dimensions. Consider whether a rectangular or square format would better showcase your miniature artwork.
Prime the canvas if necessary
If you’re using acrylic or oil paints, you may need to prime the canvas to prevent the paint from soaking into the fabric. This step is not necessary for watercolor paintings on paper.
Sketch the composition lightly with a pencil
Use your reference image or sketch as a guide and lightly draw the outlines of your composition on the canvas. This step will help you maintain proportions and ensure a pleasing arrangement.
Painting Techniques
Different painting techniques can greatly impact the final result of your miniature painting. Here are some popular techniques for acrylic, watercolor, and oil paintings:
Acrylic painting techniques
Acrylic paints are versatile and offer a wide range of techniques. Some popular ones include dry brushing, glazing, impasto, and sgraffito. Experiment with these techniques to achieve different effects.
Watercolor painting techniques
Watercolor lends itself well to transparent washes, wet-on-wet, and drybrush techniques. Try layering colors, lifting paint with a damp brush, or using salt or plastic wrap for unique textures.
Oil painting techniques
Oil paints have long been favored by artists for their rich colors and slow drying time. Some techniques to explore include glazing, scumbling, alla prima (wet-on-wet), and sgraffito.

Mixing Colors
Understanding how to mix colors is essential for achieving the desired hues in your miniature painting. Consider the following tips:
Understanding the color wheel
Familiarize yourself with the color wheel, which consists of primary (red, blue, yellow), secondary (orange, green, purple), and tertiary colors (mixes of primary and secondary colors).
Primary, secondary, and tertiary colors
Knowing how primary colors can be mixed to create secondary colors, and how to mix primary and secondary colors to create tertiary colors, will expand your color palette.
Creating shades and tints
Experiment with adding black or white to create shades (darker tones) and tints (lighter tones) of your chosen colors. This will add depth and dimension to your miniature painting.
Applying the Base Layers
Once you’ve prepared your canvas and mixed your colors, it’s time to start applying the base layers of paint:
Block in the general shapes and colors
Start by blocking in the general shapes and colors of your subject. Focus on capturing the overall composition and proportions, rather than intricate details at this stage.
Gradually build up the layers
Layering your paint allows you to add depth and complexity to your miniature painting. Start with thin, transparent layers and gradually build up to thicker, more opaque ones.
Pay attention to light and shadows
Observe your reference image or the lighting of the objects in your still life setup. Study how light and shadows interact and use subtle variations of color to create the illusion of depth.
Adding Details
Now that you have your base layers in place, it’s time to add finer details to bring your miniature painting to life:
Use smaller brushes for finer details
Switch to smaller brushes to add intricate details to your painting. Take your time and work with a steady hand to capture the nuances and textures of your subject.
Add texture and highlights
Experiment with different brushstrokes and techniques to add texture to your miniature painting. Highlights can be achieved by applying lighter tones of color over the base layers.
Blend colors for a smooth transition
To create a seamless transition between colors, use techniques such as blending, feathering, or dry brushing. This will give your miniature painting a polished and professional look.
Finishing Touches
Before you can proudly display your miniature painting, it’s important to give it some final touches:
Review and make any necessary adjustments
Step back and take a good look at your painting. Assess if any areas need additional details, adjustments, or corrections. This is your chance to perfect your masterpiece.
Sign your artwork
As a proud creator, sign your artwork. Add your signature in a discreet location, such as the bottom corner, or find a personalized way to incorporate it into the composition.
Protect the painting with varnish or fixative
To extend the longevity of your miniature painting, apply a protective layer of varnish for acrylic or fixative for watercolor and oil. Follow the manufacturer’s instructions for application.
Displaying and Sharing Your Work
Now that your miniature painting is complete, it’s time to showcase your talent to the world:
Choose a frame or mounting option
Select a frame or mounting option that compliments your miniature painting and enhances its visual appeal. Consider the style, size, and materials of the frame to suit your artwork.
Take high-quality photographs
Capture the beauty of your miniature painting with high-quality photographs. Ensure proper lighting and focus to accurately represent the colors, details, and textures of your artwork.
Share your artwork on social media or art communities
Take advantage of the digital age and share your miniature painting on social media platforms or art communities. Engage with fellow art enthusiasts and receive feedback on your work.
Tips and Tricks
Embarking on a miniature painting project can be both challenging and rewarding. Here are some additional tips and tricks to optimize your experience:
Experiment with different techniques and styles
Don’t be afraid to step out of your comfort zone and explore new techniques and styles. Embrace creativity, and allow yourself the freedom to experiment and grow as an artist.
Learn from other artists and resources
Immerse yourself in the art community and learn from other artists. Attend workshops, watch tutorials, read books, and seek inspiration to hone your skills and broaden your artistic horizons.
Practice patience and perseverance
Miniature painting requires attention to detail and precision, which can be time-consuming. Practice patience and embrace the journey, knowing that each stroke brings you closer to a beautiful masterpiece.
By following these steps, utilizing the right materials, and honing your skills, you can create your own miniature painting that reflects your creativity and passion. Enjoy the process and let your imagination soar!
Leave a Reply