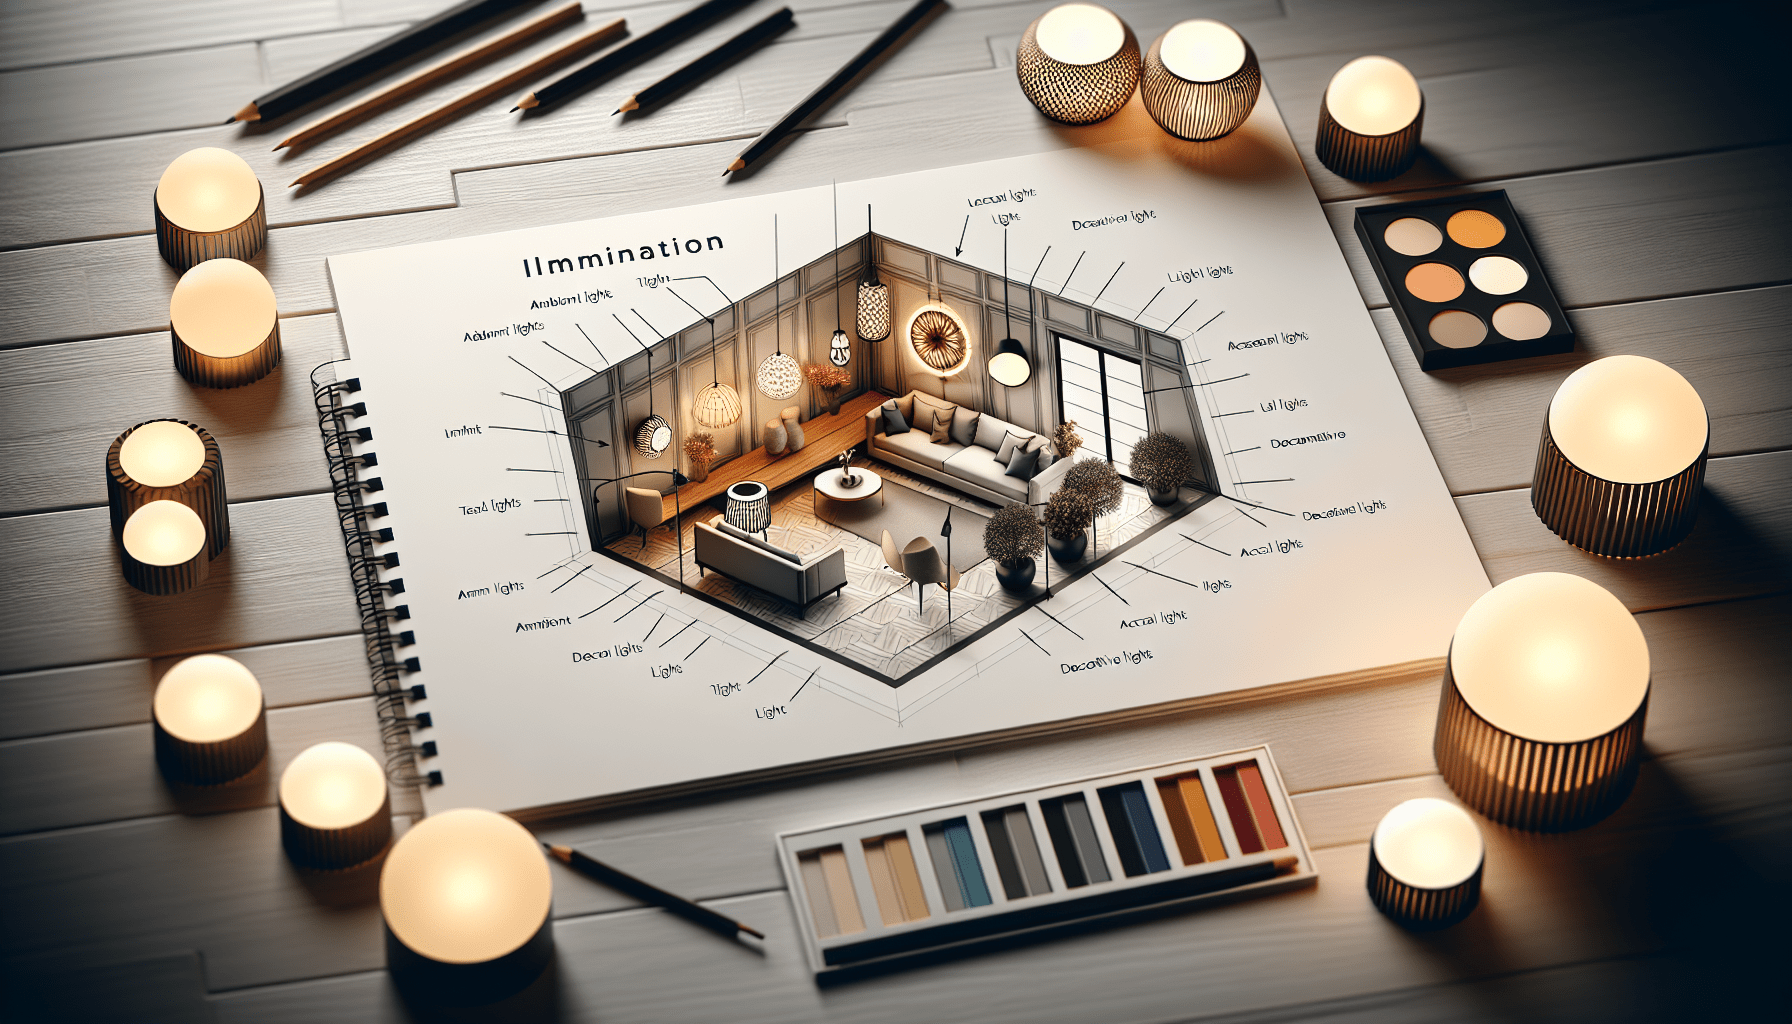
Are you ready to embark on a creative journey? In this step-by-step guide, you will discover the secrets to creating your very first illumination piece. From choosing the perfect materials to mastering the techniques, this article will walk you through each stage, ensuring you feel confident every step of the way. Get ready to unleash your artistic side and bring a touch of radiance to your world. Let’s get started!

Choosing the Right Tools
When embarking on your first illumination project, it is essential to have the right tools at your disposal. By researching and exploring different illumination tools, you can find the ones that best suit your needs and preferences. Consider factors such as the type of surface you will be working on, the size of your piece, and your level of experience. Whether it’s a paintbrush, a pen, or even a quill, choose tools that allow you to achieve the desired effect and bring your imagination to life.
Selecting the Design
The design of your illumination piece is a crucial step in the creative process. Take the time to explore different illumination design ideas, as inspiration can be found in various sources such as nature, history, or personal experiences. Consider the theme or purpose of your piece – is it a gift, a decorative item, or a personal project? Sketching or planning out your design beforehand can help you visualize the final result and make adjustments as needed. Remember, the design you choose will be the foundation of your illumination piece, so make sure it resonates with you.
Preparing the Surface
Before you start applying colors and details to your illumination piece, it is important to prepare the surface properly. Select the appropriate surface for your project based on factors such as durability and texture. Whether it’s paper, vellum, or any other material, ensure that it is suitable for illumination work. Clean the surface thoroughly to remove any dust or debris, and if needed, prime it to create a smooth and even base. Applying a base coat can also help enhance the vibrancy of the colors you’ll be using later on.
Gathering the Materials
Once you have a clear design and a prepared surface, it’s time to gather all the materials you’ll need for your illumination project. Research and prepare a materials list to ensure you have everything you need before you begin. Take the time to shop for the required materials, comparing prices and quality to stay within your budget. Organize and prepare your materials before starting your project, as having them readily available and easily accessible will save you time and frustration.
Setting Up Your Workspace
Creating an optimal workspace is essential for a comfortable and enjoyable illumination experience. Choose a well-lit area where natural or artificial light can illuminate your work. Adequate ventilation is also important to ensure comfort and prevent any fumes from affecting your health. Organize your tools and materials in a way that is easy to reach and keeps your workspace clutter-free. Additionally, consider ergonomic factors such as a supportive chair and a table at the right height to prevent strain and fatigue.
Creating the Illumination
With all the necessary preparations in place, it’s time to bring your design to life. Begin by transferring your design onto the surface, whether it’s by tracing or using grid lines, to ensure accuracy and proportion. Once the design is transferred, start sketching the outlines using your chosen tools. Take your time and work with precision to capture the intricate details and shapes of your design. Once the outlines are complete, begin adding color and details to bring depth and vibrancy to your illumination piece. Consider using different techniques such as layering or stippling to create texture and enhance the visual appeal.

Mastering Different Techniques
To truly excel in the art of illumination, it is crucial to explore and master different techniques. Experiment with various brush strokes, such as broad strokes for filling large areas and fine strokes for intricate details. Practice shading techniques to create depth and dimension within your piece. Blending colors seamlessly can also add richness and realism to your illumination. Remember, mastery comes with practice, so take the time to experiment and refine your techniques to create truly breathtaking illumination pieces.
Adding Finishing Touches
As you near the completion of your illumination piece, it’s time to add those finishing touches that will elevate it to a new level. Consider adding highlights and accents to certain areas of your design, using techniques such as highlighting with a lighter shade or applying metallic paint for a touch of elegance. Applying a protective varnish or finish will not only enhance the longevity of your piece but also give it a professional and polished appearance. Finally, don’t forget to sign and date your illumination piece, giving it the mark of your creativity and craftsmanship.
Displaying and Preserving Your Piece
Once your illumination piece is complete, it’s time to decide on the best way to display and preserve it. Choose a suitable frame or display option that complements your piece and fits well with its surroundings. Consider factors such as the size and style of the frame, ensuring it enhances rather than distracts from your artwork. Protect your piece from sunlight and moisture by displaying it in a location away from direct sunlight and humidity. Finally, take proper care of your illumination piece by dusting it regularly and avoiding any rough handling that could cause damage.
Seeking Inspiration
Throughout your illumination journey, seeking inspiration from other artists can ignite your creativity and help you improve your skills. Research and study the works of famous illumination artists, both traditional and contemporary, to gain insights and gather ideas for your own projects. Visiting exhibitions or art galleries can expose you to a wide range of styles and techniques, fostering your appreciation for the art of illumination. Additionally, joining online communities or forums for illumination enthusiasts allows you to share ideas, seek guidance, and connect with fellow artists who share your passion.
Creating your first illumination piece can be a rewarding and fulfilling experience. By following this comprehensive guide, which covers everything from choosing the right tools to seeking inspiration, you are equipped with the knowledge and steps needed to embark on your illumination journey. Remember, practice makes perfect, so don’t be afraid to experiment and explore different techniques. With dedication and creativity, you’ll soon be creating illuminations that are truly works of art. So go ahead, let your imagination shine!
Leave a Reply